How to Frame a Puzzle

According to the Guinness Book of World Records, two Spanish puzzle fiends were able to complete a 500-piece jigsaw puzzle in 34 minutes and 34 seconds! Even the most talented jigsaw fans are unlikely to approach those speeds while puzzling in their living room. For most of us, it takes hours—or weeks!
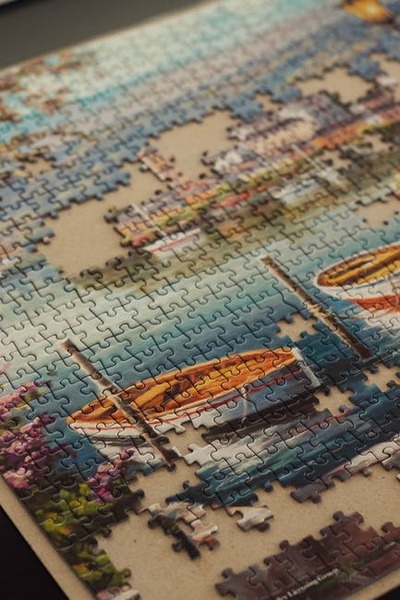
After putting in the time to complete a masterpiece, breaking your puzzle apart and putting it back in the box is a heartbreaking prospect. You can avoid the melancholy process by learning how to frame a puzzle. This crafty DIY alternative to cleaning up allows you to honor your hard work and enjoy the stunning art you've successfully assembled.
We want to help you preserve and display your favorite images. That's why we've created this step-by-step guide to puzzle framing. We'll give you the scoop on all the puzzle framing supplies you need to turn a rainy-day activity into a piece of forever wall art.
Read on to get the process started custom framing your puzzle!
Puzzle Framing Preparation
The first step involved in framing a puzzle is to pick out and put together a beautiful jigsaw puzzle! All types of puzzles will work, but you may want to stick to a square or rectangular puzzle for your first framing project. Specialty puzzles with thick pieces (such as foam core puzzles) will require special framing materials and much more measuring.
Once you've spent a fun afternoon constructing your masterpiece, you will need the following supplies to get started:
- Your completed puzzle
- Puzzle glue
- Something to spread the glue (we prefer a foam brush)
- Backing paper or cardboard, if desired
Your puzzle glue should be a low-moisture, acid-free adhesive. Buy a product explicitly marketed as puzzle glue, if possible. Too much moisture or acid can ruin your puzzle.
Add a line of glue directly to one edge of your puzzle, then use your spreading tool to cover the surface completely. We prefer a foam brush because it is unlikely to scratch the image, but some glues come with a spreading device. Aim to flood all the cracks between pieces without oversaturating the cardboard.
Once the front is dry, you can flip the puzzle and apply a layer to the back or glue the puzzle to a sheet of acid-free paper or cardboard. We recommend paper as it is less likely to affect the puzzle's thickness. Many crafters choose wax paper, which can help manage moisture and humidity.
Once dry, you're ready for framing!
Buying a Puzzle Frame
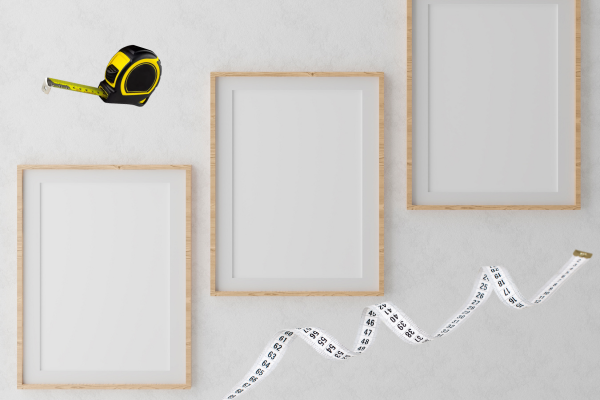
The key to success is starting with the correct puzzle frame. While many puzzles have measurements printed on the box, we recommend measuring the finished puzzle yourself. Sometimes measurements are off, and pieces occasionally swell when exposed to the adhesive.
You might choose to frame your puzzle to size (without matting) or try float mounting. Float mounting allows you to see the entire puzzle without obscuring any of the details at the puzzle's edges.
Do I Need a Custom Frame?
Once you have the measurements, you'll know whether you can use a standard off-the-shelf frame. Puzzles with special dimensions might require custom framing. If you want special matting or a frame that perfectly matches your puzzle, visit a frame shop or browse online custom framing options.
You might also require custom framing if your puzzle is exceptionally thick (such as wooden or foam core puzzles). Standard, off-the-shelf frames are for framing flat, two-dimensional prints, so puzzles may not fit.
If you wish to add matting, be aware that it will add additional thickness. If the matting fits the frame, it's a purely aesthetic choice.
Likewise, a puzzle with a unique shape (anything other than a square or rectangle) may require special matting.
Decide whether you'd like the front of your frame to be acrylic or glass. Puzzle glue does not always play nicely with framing materials. If your puzzle will be touching the surface, consult with a local puzzle framer to choose the right framing materials.
What to Do if Your Puzzle Curls
The biggest issue that crafters have during framing is curling. Even the best puzzle glues introduce moisture. The moisture can build up within your frame on a humid day, causing your lovely puzzle to curl at the edges.
Luckily, you can quickly fix this problem at home. To start, carefully remove the puzzle from the frame. If there is condensation or moisture on the glass, dry it thoroughly.
From there, flip your puzzle over so that the back side faces upward. Apply a light coat of your puzzle adhesive to the back of the puzzle. Add more in the areas where you see curling.
Wait for the additional glue to dry completely. Your puzzle should flatten back out on its own. When you're happy with it, place it back in your frame and display it with pride!
Now You Know How to Frame a Puzzle!
Nothing is more satisfying than placing the last piece into a jigsaw puzzle and standing back to appreciate your work—and nothing more devastating than dismantling your efforts when you're done. Once you know how to frame a puzzle, you'll never have to hide your favorite jigsaws on the game shelf. All it takes is a little DIY flair!
At The Frame Room, we're experts at framing almost anything, from puzzles to prints to photos. You can even access our services online, making it easier than ever to accomplish all your custom framing needs. Visit our website to browse your options and or Contact Us for assistance!


