Eye Level Picture Hanging: 5 Tips for Hanging Pictures at Eye Level

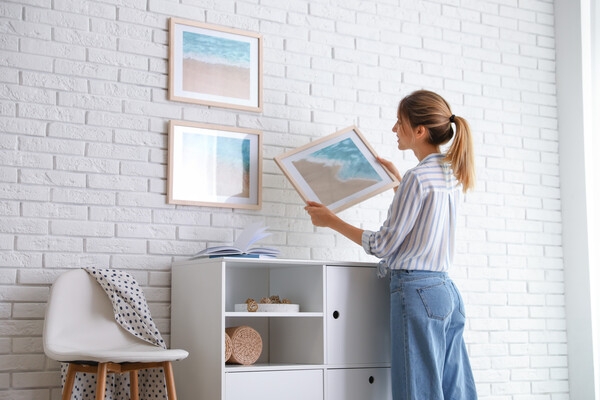
Hanging artwork or framed photographs at eye level sounds simple enough, right? Well, it's not as simple as you think when you consider the fact that not everyone has the same eye level as you.
So what exactly does eye level picture hanging entail then? In short, it doesn't look the same for everyone. And when you want to hang pictures above furniture or create a gallery wall, plenty of spacing considerations hang in the balance.
Check out this guide on picture hanging and create an aesthetically pleasing space that everyone can enjoy.
Eye Level Picture Hanging: How To Get It Right
Let's just start by saying that there is no hard and fast rule about eye level picture hanging. Yes, it's a handy guideline, but it's by no means 100 percent accurate. This is because pictures and framed photographs come in a myriad of shapes and sizes. You have to make allowance for this when hanging them.
So what is a happy medium that you should stick to when hanging pictures at a standardized eye level? The magic number you want to aim for is 57-inches from the center of your picture to the floor. You can even get away with hanging it at 60-inches if this looks too low on the wall.
But before you drill holes in the wall, here are five important factors to consider, other than height:
1. The Size of the Picture Frames
Very often the size of the actual picture is much smaller than the frame. So what you really want to remember when it comes to finding the correct picture height is the frame size.
Next, if you plan on hanging more than one picture on a wall, you'll have to think about individual spacing between each picture. A good way to get this right is to think of the individual pictures as one, large image. Look at all the individual frames as a whole and decide on your spacing that way.
Ultimately, this will help to create a balanced, harmonious look.
2. Ensure Individual Spacing Is Comfortable
The last thing you want is to cram too many pictures onto a wall that just can't carry it off. Keep the overall size of the wall in mind, as well as the individual space you'll need between the pictures.
As a good rule-of-thumb, keep the spacing comfortable between pictures at 2-3 inches apart for large to medium-sized frames. And for smaller frames, stick to 1-1.5 inches between each.
When you're hanging your pictures, always take a step back after you've hung each frame to ensure the spacing looks correct. Remember, think of the entire group of frames as a large image. Focus on a center point and work your frames around this point to find the right balance.
3. Always Work With a Guide/Template
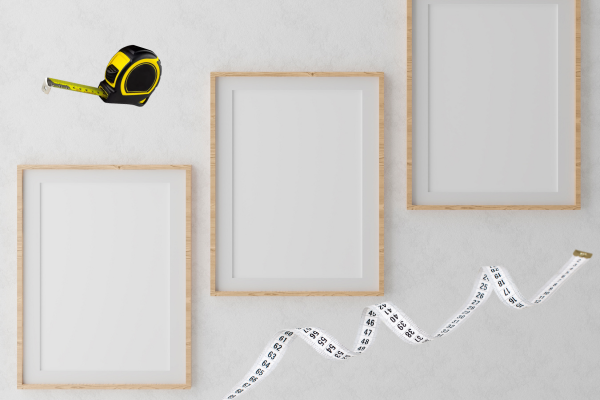
Before you get into hanging your pictures, it's imperative that you create a template or guide to help you hang them evenly. This will also help you to visualize how all the pictures will look once you've hung them. If you're not happy with the balance, you can always adjust the template, rather than having to remove and rehang the pictures.
Use paper to trace out the frame of each picture, hang this template on the wall using tape, and make adjustments in terms of space and height. It sounds like extra work, but this step will actually save you tons of time in the long run!
You can even try laying out the templates on the floor before you tape them to the wall and play with the configuration that way, first.
4. Take Your Surroundings Into Consideration
Another important step is to think about how the pictures relate to everything else in the room. In other words, you want to consider their relationship to the surroundings. For example, if you're hanging pictures in an entryway, think about the size of the space and other elements such as a coat rack, a hanging mirror, or even the door and which way it opens/closes.
These other elements in a room can impact the spacing and whether you can actually hang pictures at eye level. If you're hanging pictures above a fireplace or a sofa, eye level might be too low or even too high in relation to these other elements. If you have a particularly high ceiling, eye level might look a bit different and you'll need to hang pictures at 60-65 inches to find the right balance.
It's always a good idea to work with your surroundings rather than against them.
5. Vertical Orientation Hangs Differently
It's not uncommon to find a home decorated with a plethora of horizontal-orientated artwork/frames. This is because the framing orientation is a little easier to work with. But every so often you might find a picture or piece of art that has a vertical orientation and naturally, this throws off what's considered eye level.
If you want to find the right balance when hanging vertical art/pictures, make sure the top third of the image sits at eye level, i.e. 57-60 inches above the ground. Again, the height of the picture depends on the wall size, where you're hanging it, and the items around it.
Use a template of the picture first, and always take a few steps back to see whether you've got the height and balance right before you begin punching holes in your wall!
Create the Perfect Gallery Wall With the Frame Room
Looking to decorate a room in your home and need some expert advice on eye level picture hanging? The Frame Room offers the frames, images, and advice you're looking for.
We offer online custom framing, poster and canvas printing, and much more. Get in touch today for all your picture printing and hanging questions, we'd be happy to help!
eye level picture hanging


